Build and Run Your Own COLDCARD Firmware
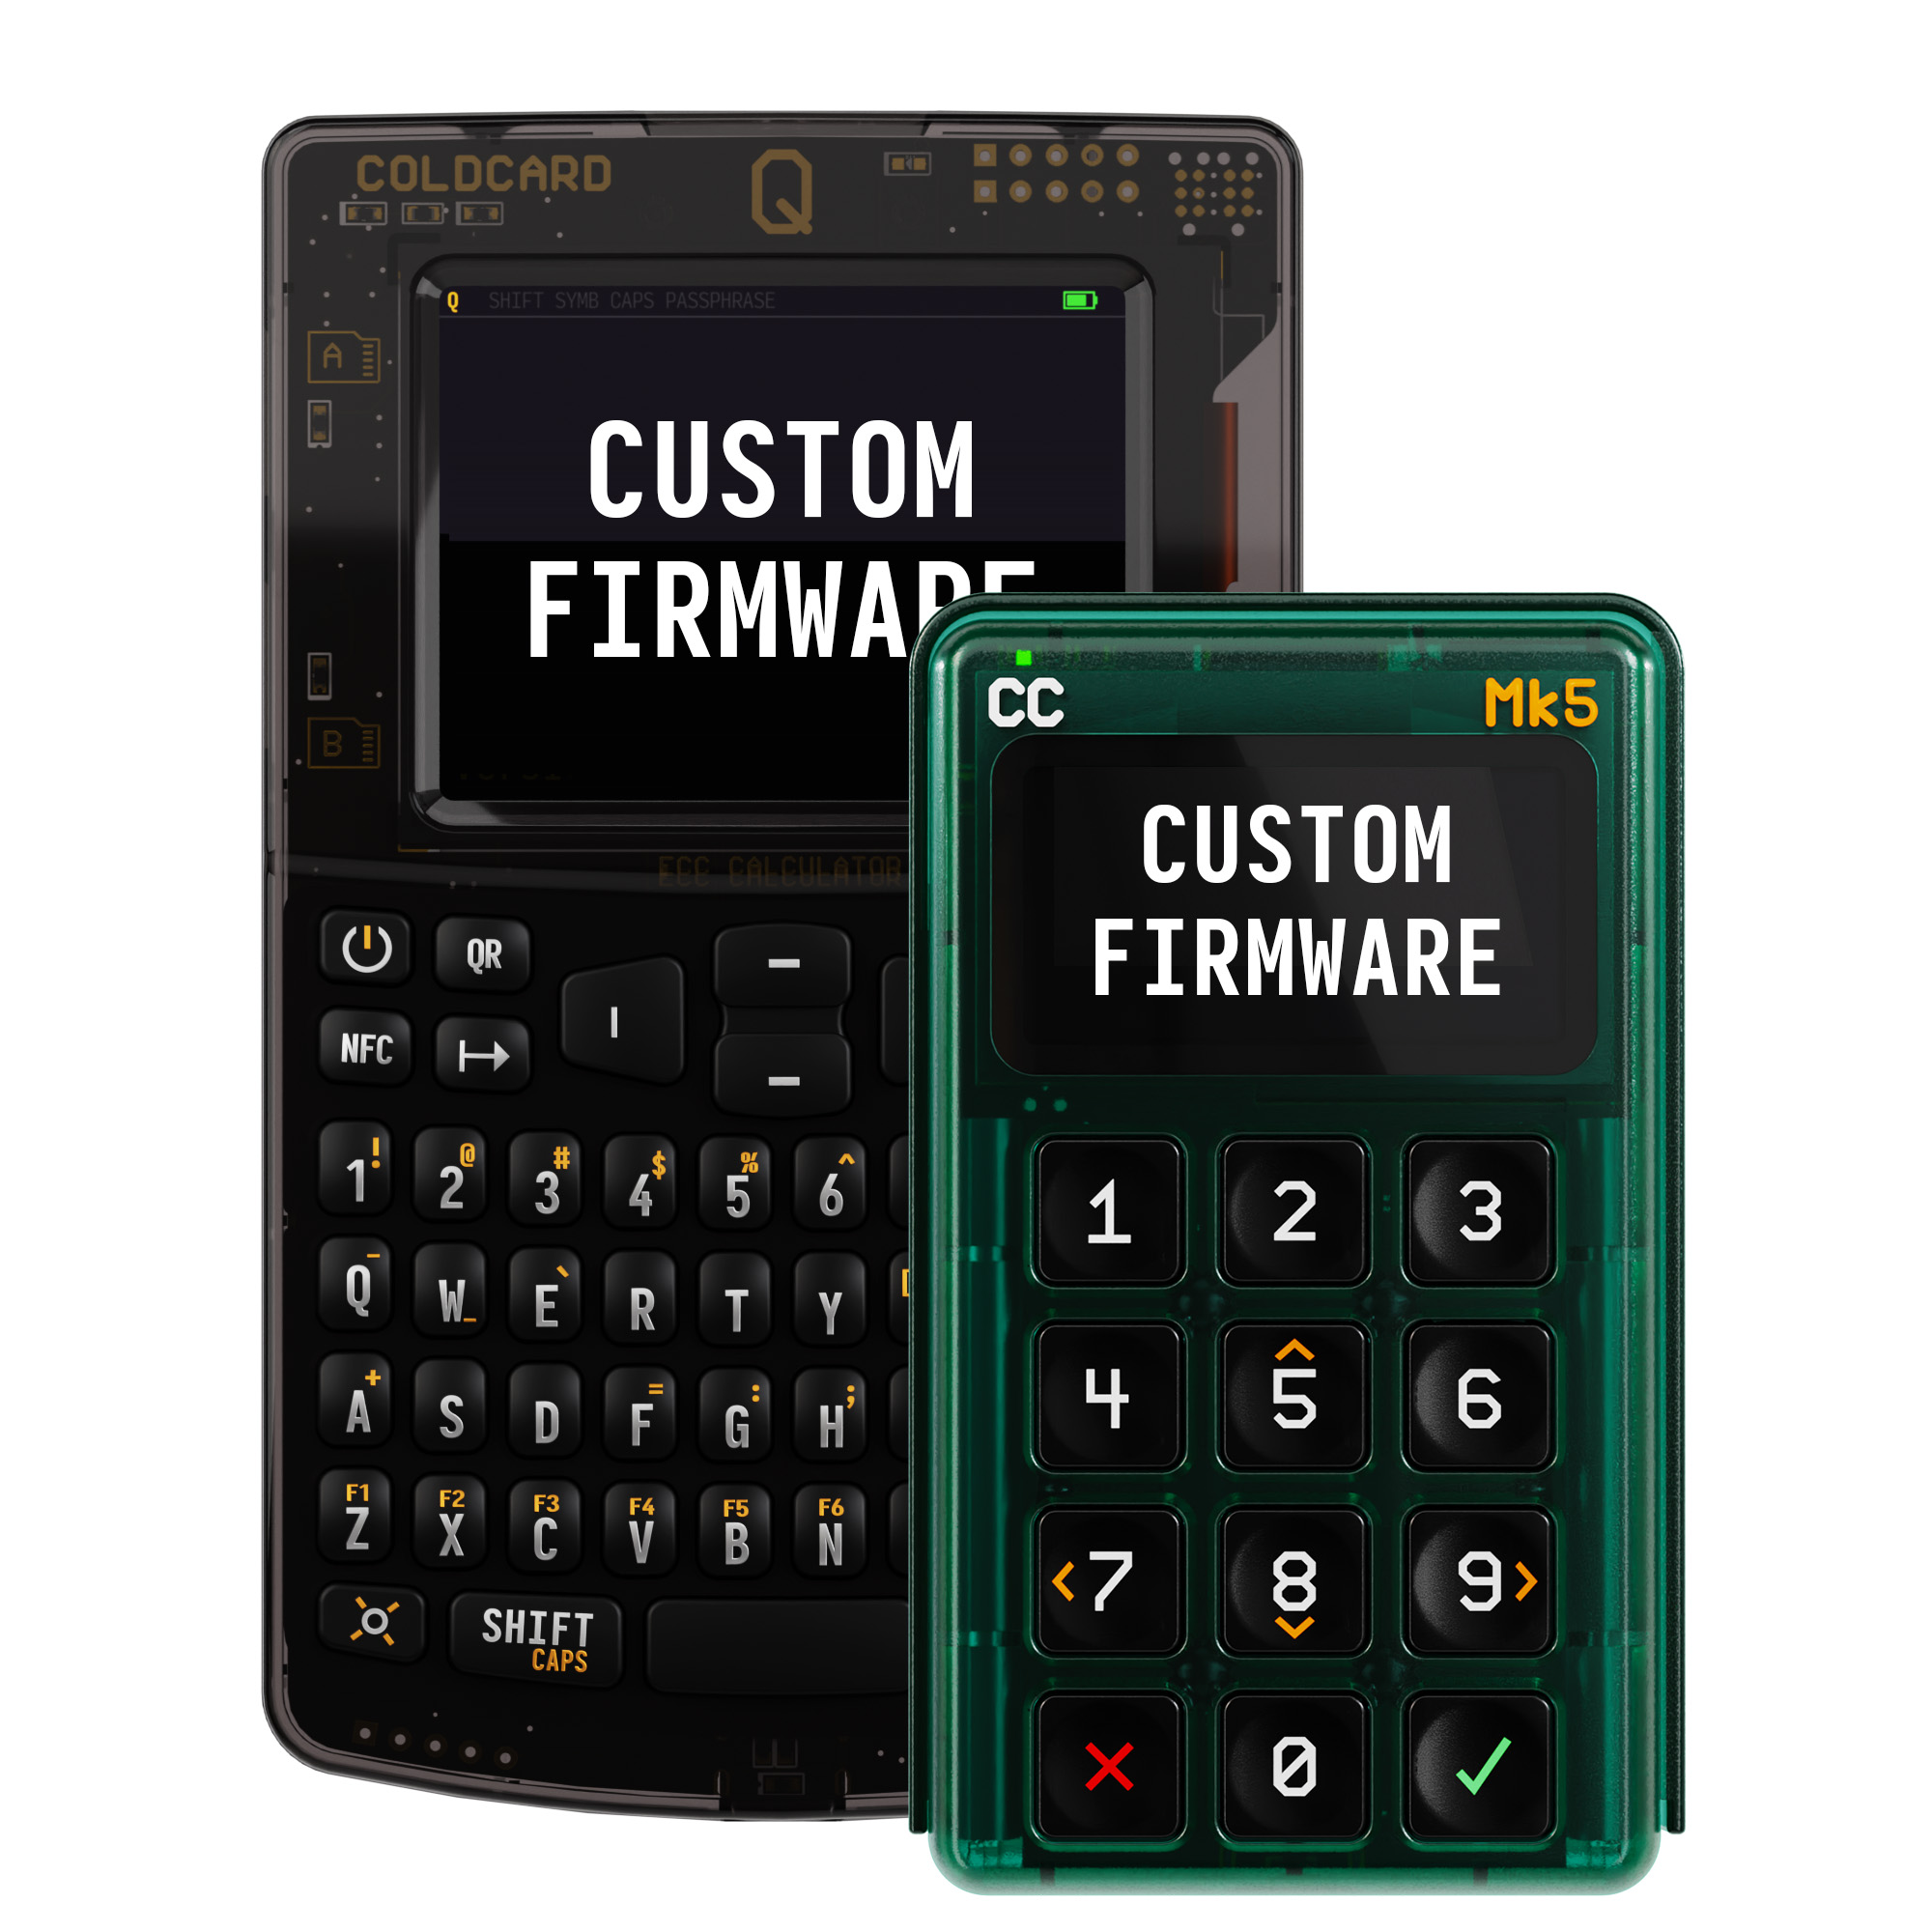
COLDCARD will run firmware you build yourself. The source tree includes the development signing private key (key zero), so you can change the code, test it, build a DFU file, and install it without asking Coinkite to sign it.
The bootloader makes the difference obvious. Development firmware gets a warning and forced delay on every boot. It cannot quietly pass as factory firmware.
This guide covers the practical loop: make a branch, run the simulator, build for Mk4/Mk5 or Q, verify the result, and load it onto a dedicated development unit.
Use a blank COLDCARD reserved for development. Do not experiment on a device that controls real funds or contains a real seed. Custom firmware can read secrets after login, change what the screen shows, sign the wrong transaction, or leak data through files and signatures. Reinstalling official firmware cannot make an exposed seed private again.
This article was checked against firmware master at
948dc108.
What You Can Change
Most COLDCARD application code is Python under shared/. Code used by both
product families is selected in shared/manifest.py; model-specific modules are
selected in shared/manifest_mk4.py and shared/manifest_q1.py.
You can replace the Python application, native modules, and even the embedded MicroPython interpreter. The bootloader is outside that image and runs first. It checks the image before handing over control and cannot be changed after the COLDCARD leaves the factory.
Mk4 and Mk5 use the same firmware target. Q has its own target. The current build files are:
stm32/MK-Makefilefor Mk4 and Mk5stm32/Q1-Makefilefor Q
Start with a display string, menu, export, parser, or simulator fix. Do not make boot or login code your first experiment. A crash or other issue that prevents firmware upgrade will effectively brick your test unit, since there is no other way to change or correct the firmware.
Prepare a Development Unit
Use a COLDCARD that will never hold real secrets. Set a main PIN, because firmware installation requires it, but stop before creating a master seed. If you need a wallet for testing, use a disposable seed on testnet or regtest.
Before changing anything, also download the current official DFU from the COLDCARD firmware page and verify its hash and signature using the upgrade instructions. That gives you a known file to return to if your build is able to reach the upgrade menu.
Get a COLDCARD for Development
Clone the Source
The repository uses submodules. Clone it recursively, and keep it in a path without spaces.
git clone --recursive https://github.com/Coldcard/firmware.git
cd firmware
git switch -c my-feature
git rev-parse HEAD

python3 -m venv ENV
source ENV/bin/activate
pip install -U pip setuptools
pip install -r requirements.txt
pip install --editable ./cli
Keep the commit ID from git rev-parse HEAD with your test notes. When a result
matters, “master” is not a useful version number.
The compiler and desktop packages differ between macOS and Linux. Install the current prerequisites from the firmware README rather than copying an old toolchain list from a post or forum reply.
Run the Simulator First
Follow the README’s complete setup for your operating system before building
the simulator. Current Apple Clang and Ubuntu 24.04 require different
MPY_CFLAGS workarounds, and Ubuntu also requires pysdl2-dll. Use the current
values from the firmware
README, set
MPY_CFLAGS as shown there, and pass it through each compiler step:
make -C external/micropython/mpy-cross CFLAGS_EXTRA="$MPY_CFLAGS"
cd unix
make setup CFLAGS_EXTRA="$MPY_CFLAGS"
make ngu-setup
make CFLAGS_EXTRA="$MPY_CFLAGS"
./simulator.py --eff
--eff starts with disposable simulator settings. For the Q interface, use:
./simulator.py --eff --q1
Make the smallest change that proves your idea. Restart the simulator, reproduce
the old behavior, and then show the new behavior. Add a focused pytest case when
the change can regress. The test suite accepts --sim for simulator tests and
--dev for real development hardware; some hardware tests are destructive, so
read the testing notes
before using --dev.
If the change is intended for everyone, add a short item to
releases/Next-ChangeLog.md.
Build Development Firmware
From the repository root, build Mk4/Mk5 firmware with:
cd stm32
make clean
make -f MK-Makefile setup
make -f MK-Makefile firmware-signed.dfu
mv firmware-signed.dfu my-feature-mk.dfu
signit check my-feature-mk.dfu
shasum -a 256 my-feature-mk.dfu
For Q, use the Q build file and give the result a different name:
make clean
make -f Q1-Makefile setup
make -f Q1-Makefile firmware-signed.dfu
mv firmware-signed.dfu my-feature-q.dfu
signit check my-feature-q.dfu
shasum -a 256 my-feature-q.dfu
On Linux, use sha256sum instead of shasum -a 256.
Both targets write the shared files firmware-signed.bin and
firmware-signed.dfu. Removing both before each model build (via make clean)
prevents Make from packaging a cached binary for the other model.
The normal firmware-signed.dfu target signs with key zero, whose private
key is included in the source tree and is not secret. signit check
prints the target hardware, version, key number, digest, and signature
result. Read that output to check it is signed and verifies.
Install It on the Development Unit
- Copy your model’s DFU file to a MicroSD card.
- Unlock the development COLDCARD.
- Select Advanced/Tools > Upgrade Firmware > From MicroSD.
- Choose the DFU, confirm the model and version, and let the write finish.
- On reboot, confirm that the development-firmware warning and delay appear.
USB upload with ckcc upgrade and Virtual Disk installation are also supported,
but MicroSD makes the file being tested easy to keep with its source commit and
SHA-256 hash.
There is no way to suppress the boot-up warning, except by getting your change into the master (or edge) firmware image that Coinkite builds. We do actually accept pull requests, and some of our features have come from outside contributors like yourself!
Keep a Useful Test Record
For each build, keep:
- the Git commit and a clean diff;
- the target model;
- the DFU SHA-256 hash;
- the
signit checkoutput; - the simulator and hardware tests run; and
- the expected warning, screen, file, or signing result.
If someone else cannot reproduce the result from that record, the experiment is not ready to distribute.
What Good Contributions Look Like
Useful firmware work is usually smaller than people expect. PR #729 fixed a simulator crash with a short root-cause explanation and a three-line code change. PR #808 fixed a malformed-JSON crash and added a regression test. PR #766 added View TRNG Words with the corresponding UX tests and changelog entry.
There are also independent experiments. The unaudited
privkeyio/cc-firmware fork changes
transaction signature-hash behavior and documents the development-key boot
warning. TibaneLabs/catcard is a
clean-room Rust firmware project targeting COLDCARD hardware; its own README
warns users not to put funds on it. These are examples to inspect, not firmware
recommendations or endorsements.
A fork is appropriate for a personal experiment or a deliberately different product. A generally useful fix or feature should usually become a focused pull request against the current COLDCARD tree.
Returning to Official Firmware
If the device still reaches the upgrade menu, install any official DFU using the usual upgrade commands. Confirm the factory-firmware boot state afterward.
Do not restore a seed that was present while unknown or third-party firmware was running. Keep development hardware out of production, even after reinstalling official firmware. The inexpensive part is another device. The expensive part is wondering what an experiment may have exposed.
The complete source and current build instructions are in the
COLDCARD firmware repository. Developer
access, warning behavior, and recovery limits are documented in
docs/dev-access.md.
Keep experiments on empty hardware. If the change should benefit everyone, send the tested patch upstream.
Need a dedicated unit for development? Enjoy 10% off when you pay with Bitcoin at checkout.